Step by Step Tutorial - Manage Objects
CLICK ON THE BLUE LINK ABOVE TO VIEW TUTORIAL
See attached PDF's below
This screen provides tools to manage objects including:
a) Displaying a list of Objects;
b) Naming Objects (please see 2 and 4);
c) Make the Object Available for Budgeting;
d) Controlling the display of the Object as a search criteria (please see 7 and 8);
e) Setting Sensitive Level for an Object;
f) Permitting the Object to be used in the Payroll and Allocation (please see 11 and 12) modules;
g) Setting up an Adjustment tab for the Object;
h) Requiring Detailed Entry for the Object;
i) Applying Rounding Methodology to an Object;
j) Define Object-Rollup Tags for Objects; and
k) Defining Tags for an Objects;
l) Prevent Account Drill Down - please see How Do I Prevent Users from Drilling Down on Accounts.
Segment codes for Object/Main Account are setup in Great Plains Accounting "ERP" software. Synchronize Chart of Accounts process synchronizes/adds these new Object components from Great Plains Accounting "ERP" software into Dynamic Budget's Manage Object screen.


1.Search for the Objects you wish to view.


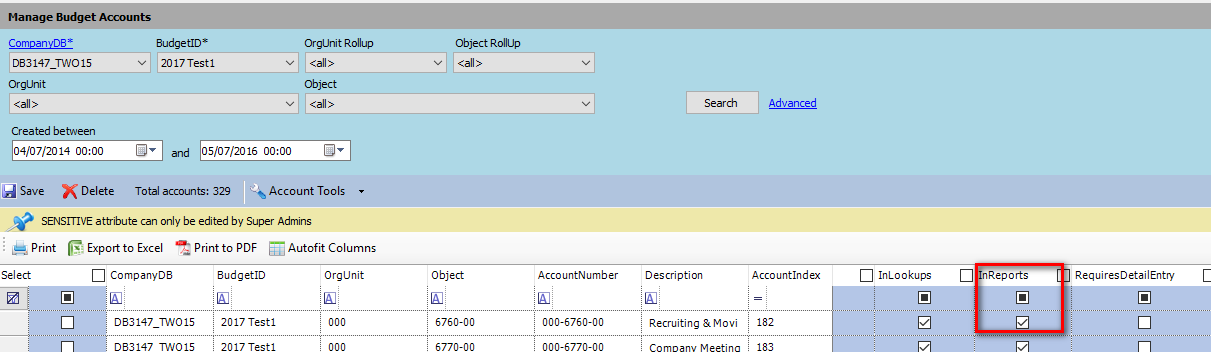
Please note "Save Objects" also automatically checks the "InReports" flag on the Manage Budget Accounts for Budget Accounts that include the Object code. In the example, Object code 6760-00 was checked as "InReports" which results in Budget Account number 000-6760-00 being automatically checked as "InReports".
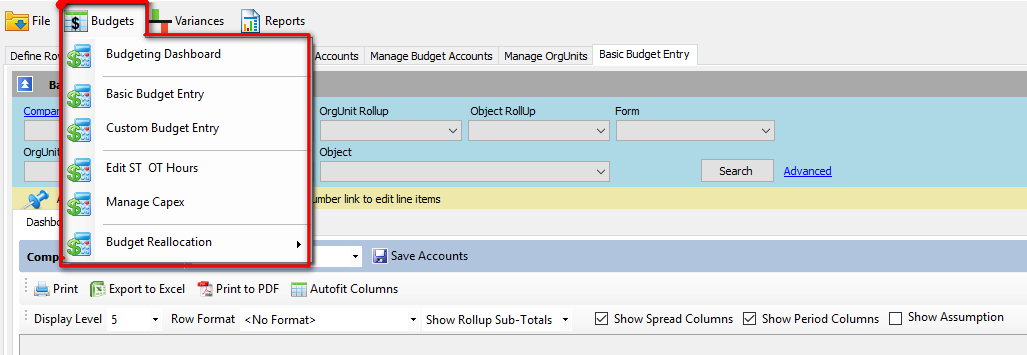
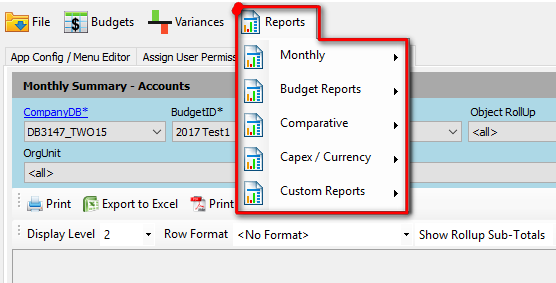
Below is the Reports dropdown menu:

8.b. If you wish an Object to be available for Budget Reallocation check the "InReallocation" box and then "Save Objects". Please note "Save Objects" also automatically checks the "InReallocation" flag on the Manage Budget Accounts for Budget Accounts that include the Object code. In the example, Object code 4100-00 was checked as "InReallocation" and 4110-01 was not which results in Budget Account number 000-4100-00 being automatically checked as "InReallocation", and 000-4110-01 as not checked.

The result of the above is that on the View Budget Reallocation, 4100-01 is visible and available to be reallocated and 4110-01 is not visible and therefore cannot be reallocated.

9. If required set the "Sensitve" level for the Object. Please see related articles:
How Does the Sensitive Security Hierarchy Works (Why I Don't See Data)?
When and Why Do I Use Sensitive Levels and/or Sensitive?
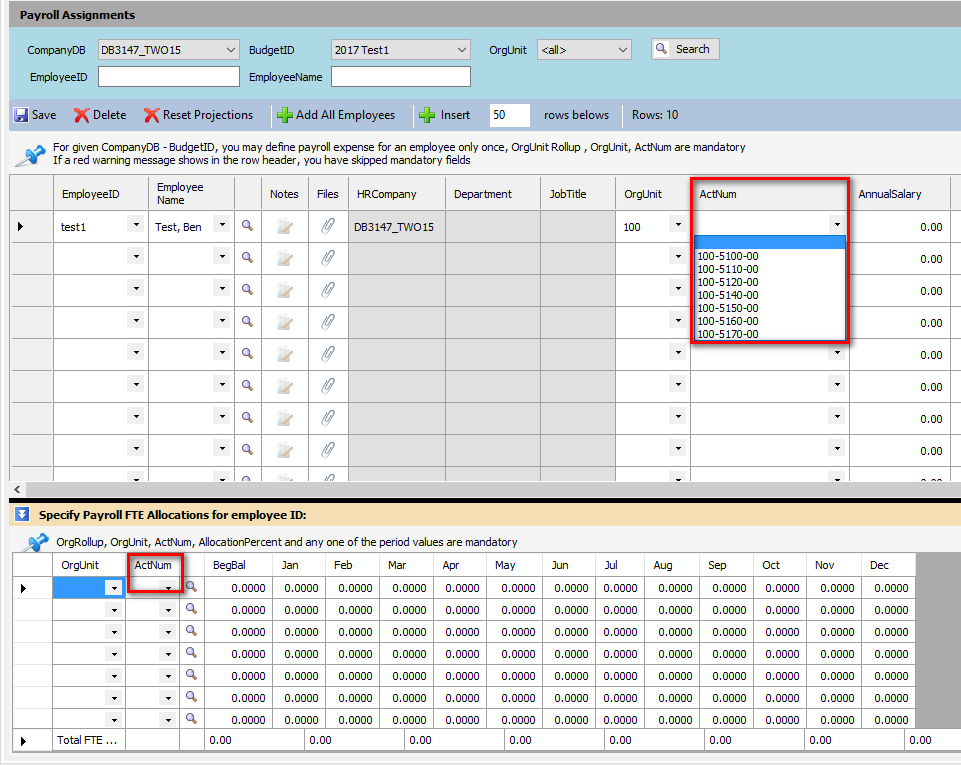
10. If you wish an Object to be available for budgeting in the Payroll module, check the Payroll box and then "Save Objects".
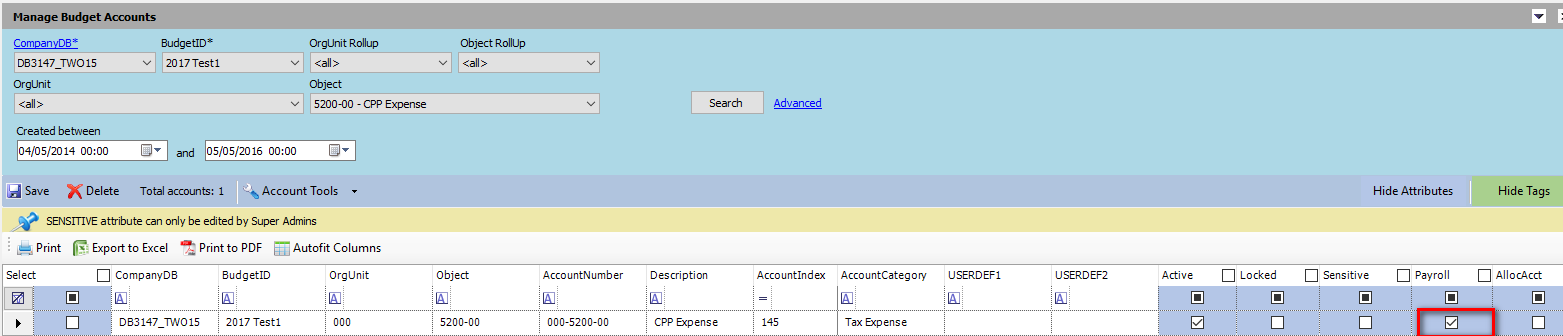
Please note "Save Objects" also automatically checks the "Payroll" flag on the Manage Budget Accounts for Budget Accounts that includes the Object code. The "checked" Budget Account Number is also now available for budgeting in the Payroll module. On the below Manage Budget Accounts, Object code 5200-00 was checked as "Payroll" which resulted in Budget Account number 000-5200-00 as being checked as a "Payroll".
Also, please note that when an Budget Account Number is checked as "Payroll" its data now flows from the Payroll module into the Payroll Projections Sub-tab, and as a consequence the Account is Locked on the Dashboard tab for Budgeting Dashboard, Basic Budget Entry, Custom Budget Entry, and on the Account Details tab/Payroll Projections Sub-tab for these screens as well Custom Reports and Custom Reports with Line Item Details. Please see 13. below which discusses how to make manual adjustments to this data, if necessary.
The setting up of payroll accounts is independent from setting up security to limit viewing access to payroll information. Please see How Does Payroll Security Work?


Budgeting Dashboard, Basic Budget Entry, Custom Budget Entry, and on the Account Details tab for these screens as well Custom Reports and Custom Reports with Line Item Details. Please see 13. below which discusses how to make manual adjustments to this data, if necessary.


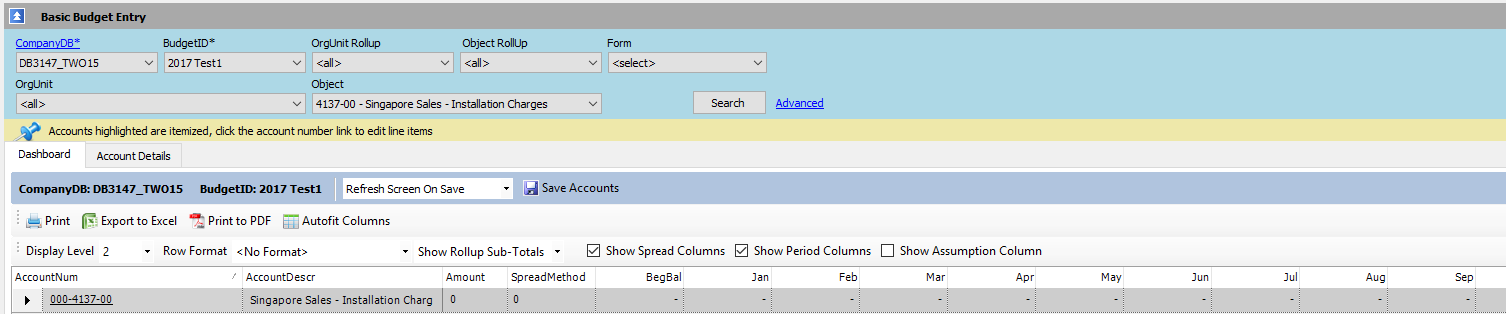
Please note "Save Objects" also automatically checks the "RequiresDetailEntry" flag on the Manage Budget Accounts for Budget Accounts that include the Object code. In the below example, Object code 4137-00 was checked as "RequiresDetailEntry" which resulted in Budget Account number 000-4137-00 as being checked as "RequiresDetailEntry" which in turn Locked the AccountNum on the Basic Budget Entry screen.

15. and 16. There are four "RoundingMethod" options which are selected from the dropdown menu as indicated above. These options are used
in conjunction with the "RoundingPrecision" value which are manually entered. The RoundingMethod and related RoundingPrecision value are applied to the data on the Dashboard tab. The impact of the rounding choices can be previewed on Account Details tab; see below examples.
If you wish the data for an Object to be rounded, select the required RoundingMethod from the dropdown menu (15), enter the RoundingPrecision value (16) and then "Save Objects".
Please note "Save Objects" also automatically updates the RoundingMethod and RoundingPrecision on the Manage Budget Accounts for Budget Accounts that include the Object code.
Please note the RoundingMethod and Rounding Precision can be edited on the Manage Budget Accounts for each Budget Account. Therefore the values for a specific Budget Account can differ from its related Object. However, best practice is to have the setting on Manage Objects and Manage Budget Accounts mirror each other as updates on Manage Objects will override Manage Budget Accounts settings.
i) NO ROUND
The data on the Dashboard tab is reflective of how the data is entered on the Account Details tab.
Below the Rounding Method was set to "NO ROUND" and the RoundingPrecision to "0".


The data on the above Budget Dashboard is in the same format as that on the below Accounts Detail tab.

ii) ROUND
Setting the RoundingMethod to "Round" will round up or down the data displayed on the Dashboard tab which was entered on the Account Detail tab. The selection of the RoundingPrecision determines how the data is rounded.
a) Setting the Rounding Precision to "0", rounds the data to the nearest full dollar. For example, as per below, $833.33 is rounded to $833 as can be seen on the "Rounded Totals" row. The "Raw Totals" row reflects how the data was originally entered. The "Rounded Totals" are the amounts displayed on the Dashboard tab.


b) Setting the Rounding Precision to "2", rounds the data to two decimal places. For example, as per below, $833.33 is rounded to $833.33 as can be seen on the "Rounded Totals" row. The "Raw Totals" row reflects how the data was originally entered. The "Rounded Totals" are the amounts displayed on the Dashboard tab.


c) Setting the Rounding Precision to "-2", rounds the data to hundreds. For example, as per below, $833.33 is rounded to $800 as can be seen on the "Rounded Totals" row. The "Raw Totals" row reflects how the data was originally entered. The "Rounded Totals" are the amounts displayed on the Dashboard tab.


iii) CEILING
Setting the RoundingMethod to "CEILING" rounds each data entry on the Account Details tab up to the amount (or nearest increment thereof) specified in the RoundingPrecision. It then rounds up or down the total to the nearest increment of the RoundingPrecision amount. The rounded data is displayed on the Dashboard tab.

a) The RoundingPrecision was set to 500 as above. Per the below "Raw Total" and " Rounded Total" for March $950 was rounded to $1,000 ($500*2), $450 in April to $500 and $120 in May was rounded to $500. The Raw Total is $1,520 which is then rounded up to $2,000. The Rounded Total amounts are displayed on the Dashboard tab.

b) The RoundingPrecision was set to 500 as above. Per the below "Raw Total" and " Rounded Total" for March $950 was rounded to $1,000 ($500*2), $20 in April to $500 and $10 in May was rounded to $500. The Raw Total is $980 which is then rounded to $1,000. Please note that in order to round to $1,000 there is a -$1,000 rounding entry in December. The Rounded Total amounts are displayed on the Dashboard tab.

iv) FLOOR
Setting the RoundingMethod to "FLOOR" rounds each data entry on the Account Details tab down to the amount (or nearest increment thereof) specified in the RoundingPrecision. It then rounds down the total to the nearest increment of the RoundingPrecision amount. The rounded data is displayed on the Dashboard tab.

a) The RoundingPrecision was set to 500 as above. Per the below "Raw Total" and " Rounded Total" for March, $950 was rounded down $500 and $30 in April was rounded to $0. The Raw Total is $980 which is then rounded down to $500. The Rounded Total amounts are displayed on the Dashboard tab.

b) The RoundingPrecision was set to 500 as above. Per the below "Raw Total" and " Rounded Total" for March, $950 was rounded down $500 and $90 in April was rounded to $0. The Raw Total is $1,040 which is then rounded down to $1,000. Please that in order to total $1,000 there is a rounding entry of $500 in December. The Rounded Total amounts are displayed on the Dashboard tab.


17. The Object-Rollup titles are user-defined. To label an Object with ObjectRollup title, enter the title and then click "Save Objects" to save.
In the below example, Objects 4750-04 to 4800-00 were defined "01-Revenue". Whereas Objects 5100-00 to 5121-00 are "02-Labor".

Objects that are designed with the same "Object Rollup" can:
i) be filtered together for budgeting and reporting Search purposes. Please note that by using ascending number, eg 01, the lowest number is placed at the top of the dropdown menu which can be helpful for selecting items.

In the below example "02-Labor" was selected which in displays a report with only those objects labeled as "02- Labor".

ii) be totaled together in Define Row Formats as per below.

Below is an example of a Row Format that has been defined totaling on the above ObjectRollups:

18. Tags are additional user-defined fields that can be used as a report writing tool. There are ten tags. Tag titles can be customized. Please see How Do I Customize Tag Tiles?
In the below example, Tag1 was used to group Objects according to an internal management report. Namely, revenue by US/Canadian versus International sources and Labor by Administration versus Service etc.

Below is how the Define Row Formats was setup using Tag1:

And below is the format of the report using the above Define Row Formats. Please note that by using ascending number, eg 01, the lowest number is placed at the top of the report which can be useful to group like items in order.

Below is an example of how ObjectRollup and Tag1 labeling can be used to generate a report that grand totals the totals of two components of revenue, US/Can Revenue and International Revenue. In other words, ObjectRollups and Tags can be used to write reports with nested totals.
This is how the Define Row Formats would be set up:

This is what the reports look like:
